If you plan to travel abroad for business, study, or tourism, the first thing you need is an international passport. In Nigeria, the process is straightforward, but knowing the right steps can save you time and stress. This guide breaks it down for you.
Step 1: Choose the Right Passport Type
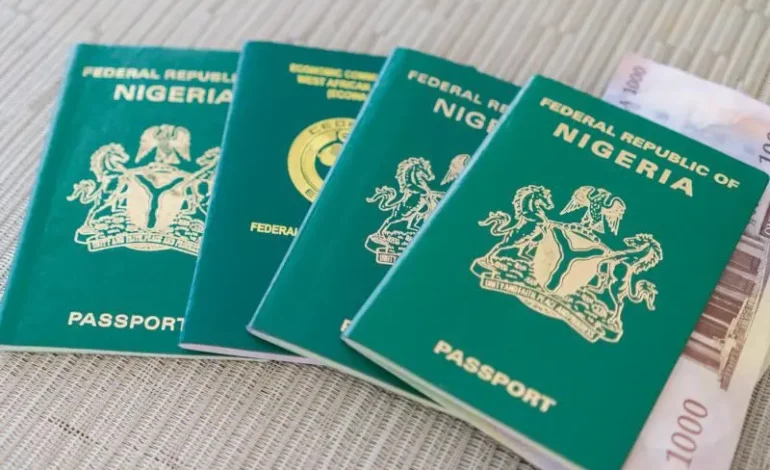
Before starting, decide which passport you need. Nigeria offers three main types:
- Standard Passport: For general travel, valid for 5 or 10 years.
- Diplomatic Passport: Issued to government officials and diplomats.
- Official Passport: For government employees traveling for work.
Most people will need the standard passport.
Step 2: Visit the Nigeria Immigration Service (NIS) Website
Go to the Nigeria Immigration Service (NIS) website and create an account. This portal allows you to apply, book an appointment for biometrics, and make payments.
Step 3: Fill Out the Application Form
Log in and complete the online form. Enter accurate details that match your legal documents to avoid delays. You’ll need to provide information such as your full name, birth details, and occupation. Upload a passport-sized photograph that meets NIS requirements: clear, recent, and with a white background.
Step 4: Make Payment
After completing the form, proceed with payment. The cost varies based on the type of passport and page count:
- 32-page passport: Around ₦100,000
- 64-page passport: Costs slightly more
You can pay online using a debit or credit card.
Step 5: Book a Biometrics Appointment
Once you’ve paid, schedule an appointment at your nearest passport office. Here, officials will collect your biometric data, including fingerprints and a facial scan.
Step 6: Gather Your Documents
Prepare the necessary documents before your appointment. These include:
- Completed application form (printed copy)
- Payment receipt
- Proof of identity (National ID, birth certificate, or driver’s license)
- Two passport-sized photos
- Proof of address (utility bill or bank statement)
- Any additional documents required by the immigration office
For renewals, bring your old passport.
Step 7: Attend Your Appointment
On your scheduled date, visit the passport office on time with all documents. Officials will verify your information and capture your biometrics. Afterward, you’ll receive a receipt confirming your submission.
Step 8: Wait for Processing
Processing time ranges from 3 to 12 weeks. You’ll receive a notification when your passport is ready. You can also track your application status online.
Final Thoughts
Getting a Nigerian international passport is simple if you follow these steps. Be patient during processing, double-check your details, and ensure you have all required documents to avoid delays. Once approved, you’ll be one step closer to your international travel plans!